
< Back to Project Guides
Project Guide
How to Install a Toilet Flange: Step-by-Step Installation Guide
Difficulty
intermediate

Time
2-4 hours

A complete guide to secure, leak-free toilet flange installation for DIYers and professionals
What Is a Toilet Flange and Why Does Proper Installation Matter?
A toilet flange (closet flange) is a pipe fitting that connects your toilet to the drain pipe and secures it to the finished floor. Proper installation prevents leaks, ensures stability, and protects your bathroom plumbing long-term. This guide covers every step from flange selection to final preparation for toilet mounting.
Important Note: This guide focuses specifically on new toilet flange installation. If your existing flange is damaged and needs repair, visit our How to Repair a Toilet Flange guide. For help selecting the correct flange, explore our Guide to Toilet Flange Types.
A step-by-step guide to a secure, leak-free toilet flange installation
How Do You Install a Toilet Flange? To install a toilet flange, select the correct flange type for your drain pipe material, prep the pipe and subfloor, dry fit for alignment, solvent weld with primer and cement, secure the flange to the subfloor, install closet bolts, and place a new wax ring before setting the toilet. The full process takes 2-4 hours for intermediate DIYers.
What You'll Need For This Project
- Toilet flange (PVC, ABS, offset, or cast iron)
- Oatey® Purple Primer
- Solvent Cement (for PVC/ABS installs)
- Wax ring or non-wax seal (e.g., Oatey® Standard Wax Bowl Ring)
- Toilet Bolts (e.g., Hercules® Johni-Bolts®)
- Drill or screwdriver
- Tape measure
- Saw
- Stainless steel or appropriate floor screws
- Safety gloves and eye protection
- Optional: Flange spacer or extender, hammer drill (for concrete)
Pro tip: Always match the flange material to the pipe (e.g., PVC to PVC). If you must mix materials, use a certified transition cement such as Oatey® ABS to PVC Transition Medium Bodied Green Cement.
Step 1. Select the Correct Flange Type
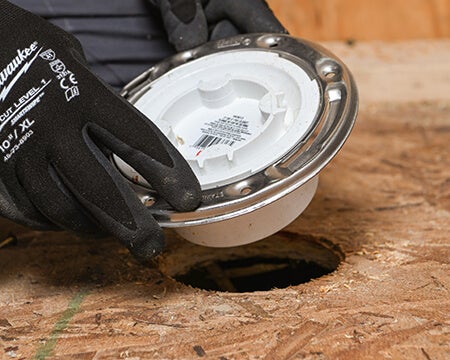
The correct toilet flange type depends on your drain pipe material and configuration. Match the flange material (PVC, ABS, or cast iron) to your existing drain pipe material. Depending on your drain configuration, you can choose between over-pipe or inside-pipe installation styles.
Special flange considerations include:
- High-moisture environments: In basements or areas prone to leaks, use stainless steel ring models for added durability and corrosion resistance.
- Misaligned rough-ins: If your drain pipe is off-center, an offset flange can shift the outlet up to two inches in any direction.
Step 2. Prep the Drain Pipe and Subfloor
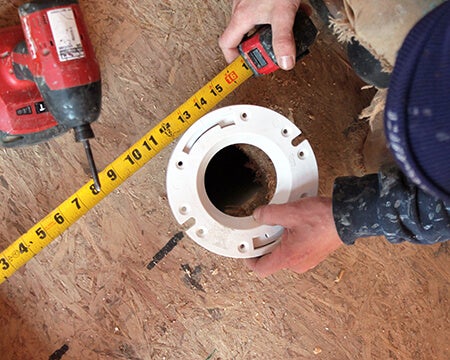
Before installing your toilet flange, ensure the drain pipe is clean, dry, and the correct size (typically 3 inches or 4 inches in diameter). Measure and cut the pipe to the desired height so the flange will sit on top of the finished floor.
Important preparation steps:
- Chamfer and deburr the pipe end to ensure a strong, leak-free connection.
- Inspect the subfloor to confirm it is level, dry, and free of debris.
- For concrete installations, pre-drill anchor holes using a masonry bit and hammer drill before proceeding.
Step 3. Dry Fit the Flange to Check Alignment
Temporarily place the flange onto the drain pipe to ensure proper fit and check for any interference. The bolt slots must be positioned at the nine o'clock and three o'clock positions (perpendicular to the wall behind the toilet).
Mark the alignment between the flange and pipe with a permanent marker to preserve the correct orientation for final installation. This step prevents misalignment issues that could cause toilet rocking or installation difficulties.
Step 4. Apply Primer and Cement for Solvent Welding
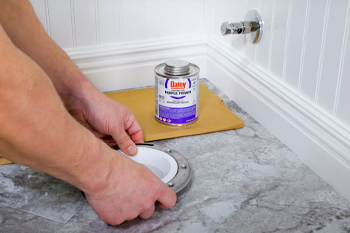
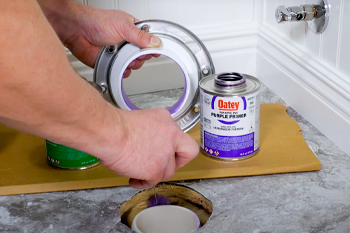
For PVC and ABS toilet flange installations, solvent welding creates a permanent, watertight seal. First, apply Oatey® Purple Primer to both the flange hub and the outside of the drainpipe using approved application methods.
Next, apply Oatey® Heavy Duty Clear PVC Cement to both the flange and drainpipe surfaces. Work quickly, as the cement sets rapidly.
Step 5. Install the Flange onto the Pipe
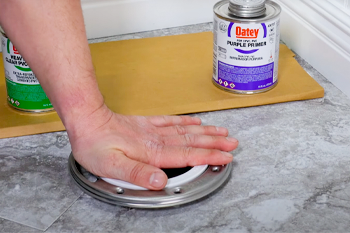
Immediately after applying cement, push the flange down onto the drainpipe with a twisting motion, aligning it with your previously marked orientation. Push firmly until the flange base sits flush on the finished floor.
Hold the flange in position for 30 seconds to allow the initial bond to set. Ensure the bolt slots remain at the nine and three o'clock positions.
Step 6. Anchor the Flange to the Subfloor
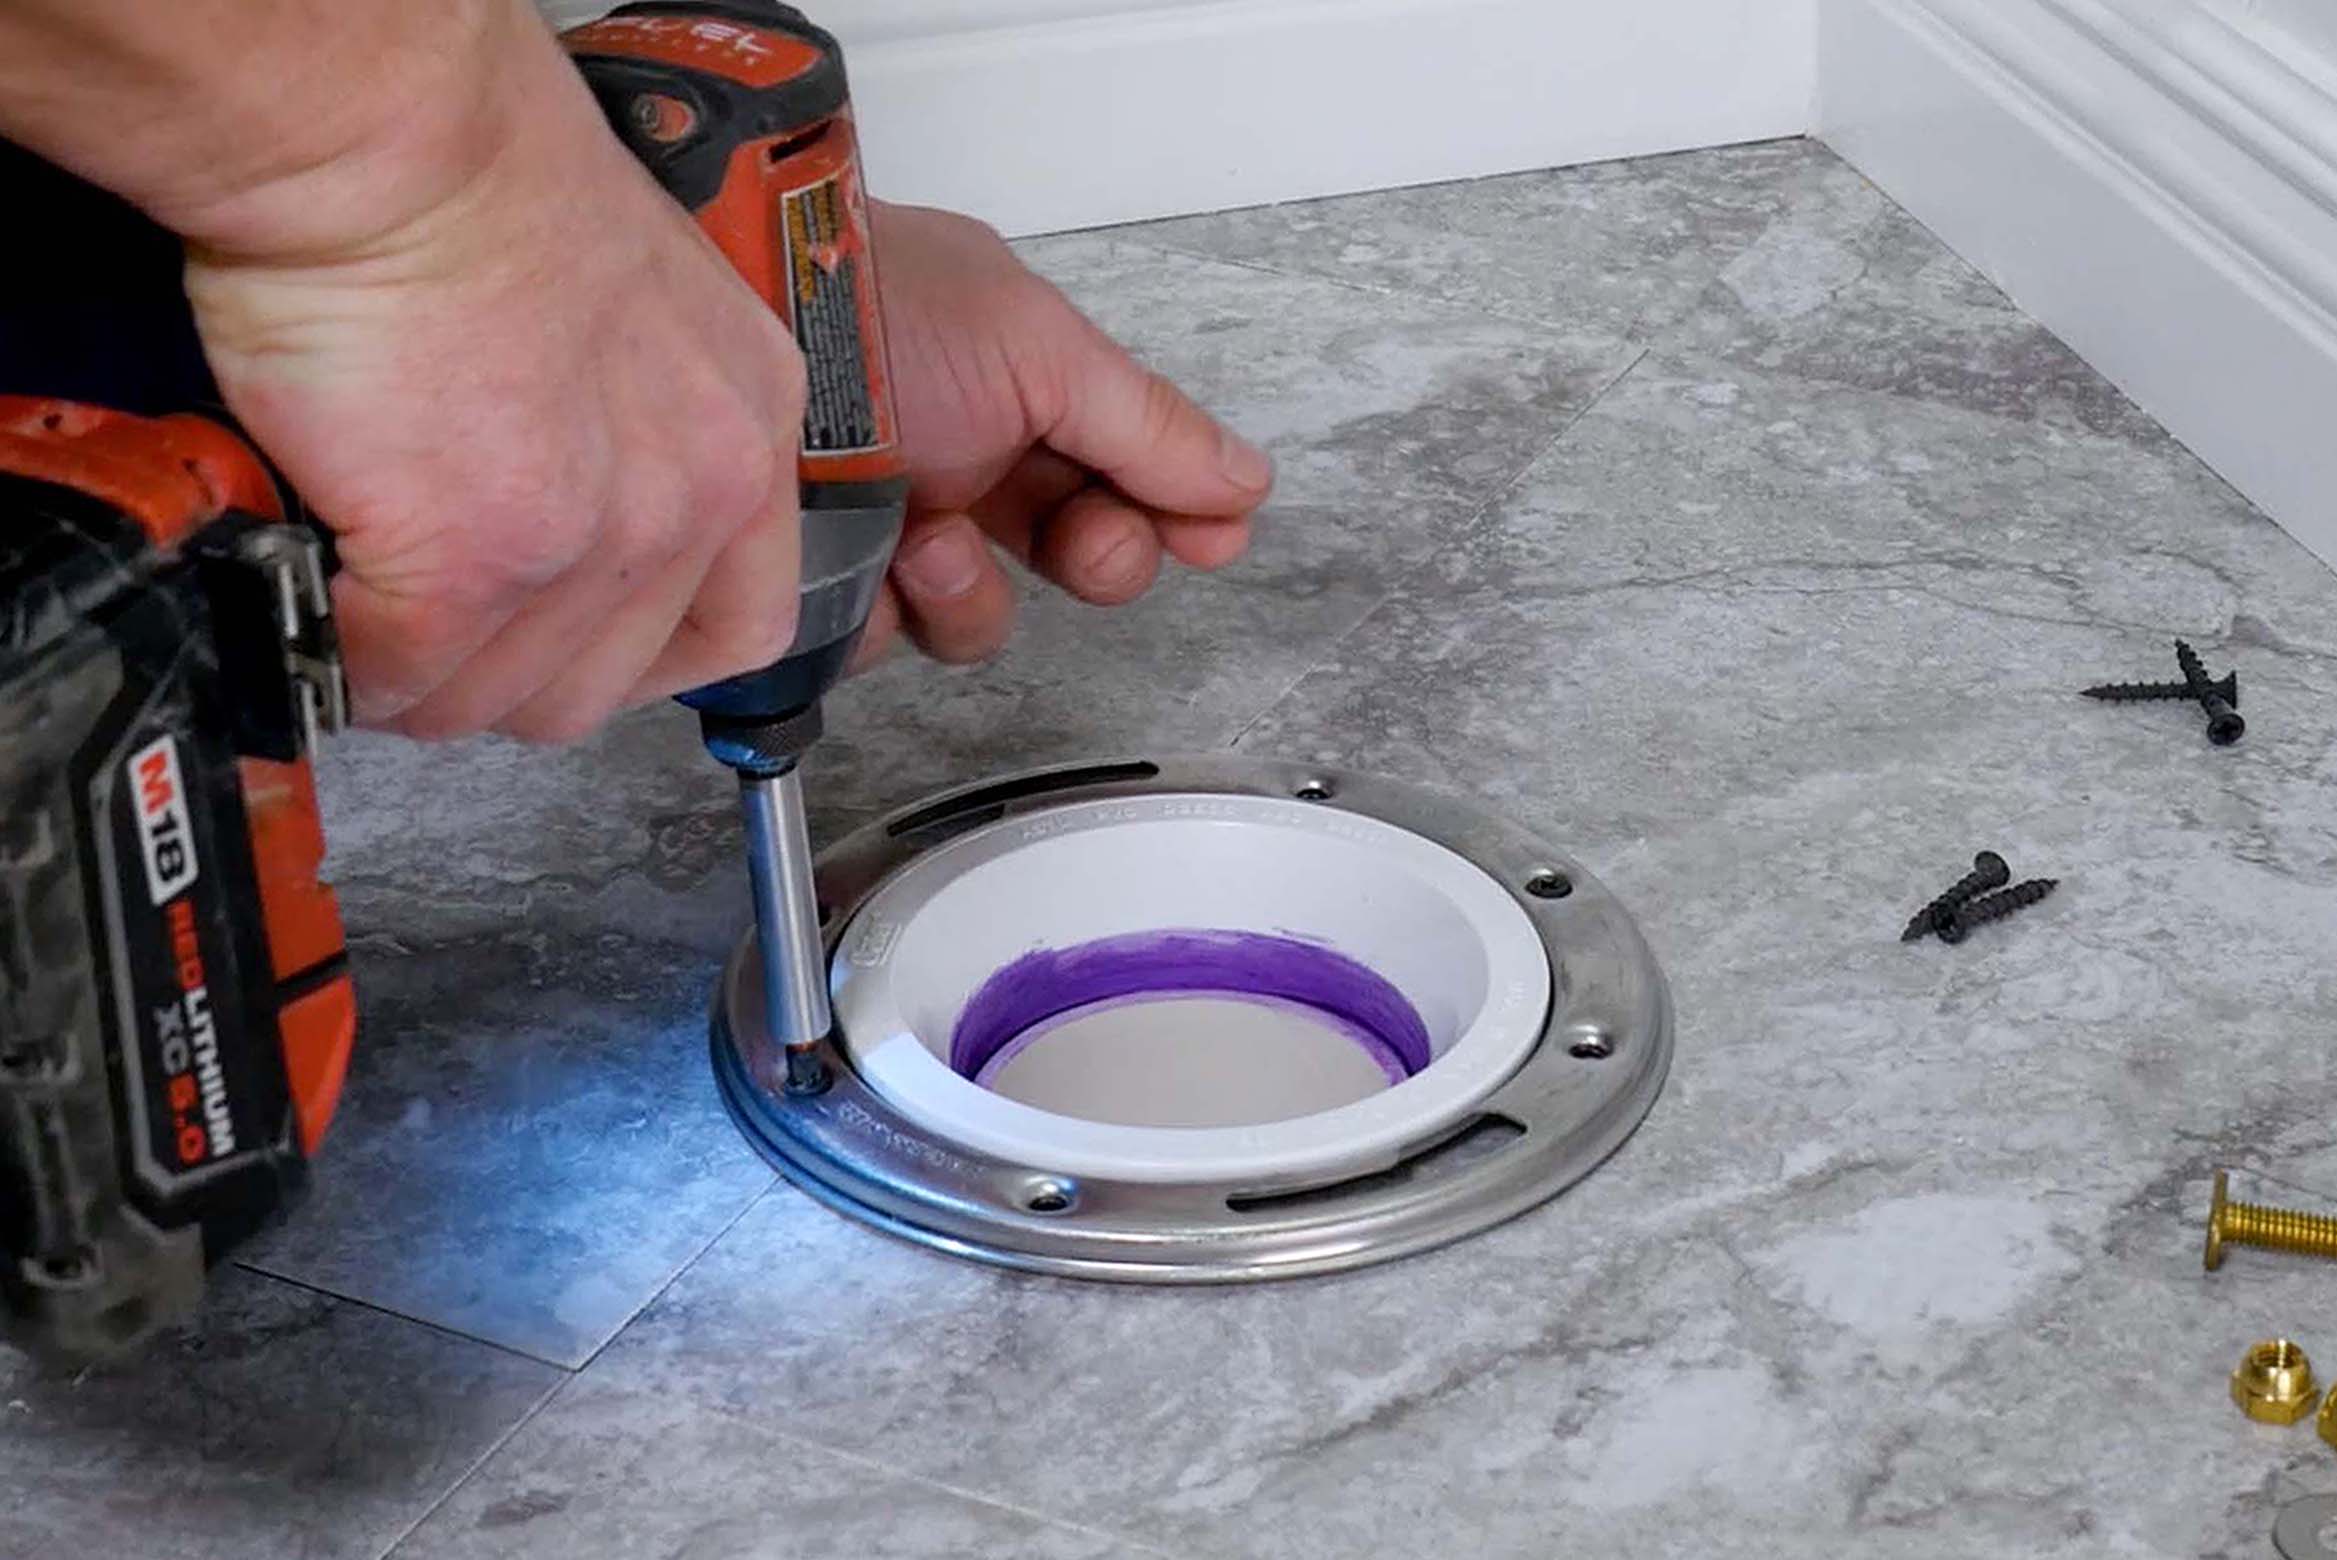
Securely fasten the toilet flange to the subfloor using stainless steel or corrosion-resistant screws. Always anchor the flange through the finished floor (tile or vinyl) and into the subfloor beneath, never anchor to tile alone.
Proper anchoring prevents flange movement and maintains the wax ring seal over time. Avoid "floating" flanges that aren't anchored, as they can shift under the toilet's weight and compromise the seal, leading to leaks.
Step 7. Install Closet Bolts
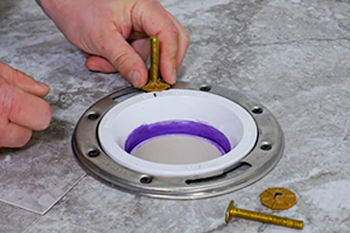
Insert closet bolts (such as Johni-Bolts®) into the flange slots and secure them with washers and nuts underneath.
Closet bolt selection tips:
- For thick floors or installations using flange spacers, use longer bolts to ensure adequate thread length.
- For quicker installations, consider quick-install washers that hold bolts in place while positioning the toilet.
Step 8. Prepare for Toilet Installation
Before setting the toilet, place a new wax ring on the flange. Never reuse an old wax ring, even if it appears intact—used rings cannot create a proper seal.
Wax ring selection guidelines:
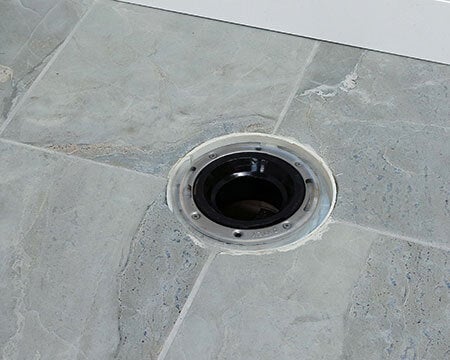
- The flange should sit on top of the finished floor for optimal performance.
- If the flange is flush with or slightly below the floor, use a thicker wax ring or flange spacers to compensate.
For detailed toilet setting instructions, refer to our guide on How to Replace a Toilet Wax Ring.
Common Mistakes to Avoid
- Installing the flange below the finished floor: This can lead to poor wax ring compression and leaks.
- Using the wrong flange material: Avoid mismatched pipe and flange types unless you use approved transition materials.
- Loose installation: A flange not anchored securely can move or break over time.
- Reusing old bolts or wax rings: Always use new components for a reliable seal and easier installation.
For more guidance, read Five Best Practices When Installing a Toilet Flange.
Flange Installation Variations
- Installing on concrete: When working with concrete, it's essential to use concrete-specific anchors and a hammer drill. Before securing the flange, pre-drill the holes and clear any debris. Be ready for more preparation time than you would typically spend on wood subfloors.
- Damaged flange: If the original flange is damaged or sitting too low, consider using a Twist-N-Set® or Set-Rite® Flange Extension Kit. These options allow for retrofitting without the need to cut into floors or ceilings, making the repair process simpler and less invasive.
- Misalignment: Offset flanges provide a solution for minor adjustments when drain pipes are misaligned. It's important to mark the placement carefully before cementing, as the flange cannot be repositioned once set. Maintaining the proper slope in the waste pipe is crucial for ensuring effective drainage performance. For more information, read Should I Use an Offset Toilet Flange?
Correctly installing a toilet flange is essential for a durable, leak-free toilet installation. Whether you're a seasoned pro or tackling your first bathroom project, Oatey provides the products, expertise, and support you need to do the job right.
What Are the Most Common Toilet Flange Installation Mistakes?
Avoid these frequent toilet flange installation errors that can lead to leaks, toilet instability, or premature failure:
- Installing the flange below the finished floor: This prevents proper wax ring compression and causes leaks. The flange should always sit on top of the finished floor.
- Using the wrong flange material: Mismatched pipe and flange materials can fail unless you use approved transition fittings.
- Loose or inadequate anchoring: A flange that isn't securely anchored to the subfloor can move, crack, or break over time, compromising the seal.
- Reusing old bolts or wax rings: Always use new components for reliable sealing and easier installation. Old materials cannot provide the same performance.
For more guidance, read Five Best Practices When Installing a Toilet Flange.
What Are the Different Toilet Flange Installation Scenarios?
Different subfloor materials and existing conditions require specific installation approaches:
Installing a Toilet Flange on Concrete
When installing a toilet flange on concrete, use concrete-specific anchors (such as Tapcon screws) and a hammer drill with a masonry bit. Pre-drill all anchor holes before positioning the flange, and clear debris from holes before inserting anchors. Concrete installations require more preparation time than wood subfloor installations but provide excellent long-term stability.
Repairing or Replacing a Damaged Toilet Flange
If the original flange is damaged, cracked, or sitting too low, consider using a Twist-N-Set® or Set-Rite® Flange Extension Kit. These retrofit solutions allow flange repair or height adjustment without cutting into floors or ceilings, making the repair process simpler and less invasive.
Correcting Toilet Flange Misalignment
Offset flanges provide a solution for minor adjustments when drain pipes are misaligned with the desired toilet location. Mark the placement carefully before cementing, as the flange cannot be repositioned once the solvent cement sets. Maintain proper slope in the waste pipe (1/4 inch per foot minimum) to ensure effective drainage performance. For more information, read Should I Use an Offset Toilet Flange?
Achieving a Professional Toilet Flange Installation
Correctly installing a toilet flange is essential for a durable, leak-free toilet installation that will last for years. Whether you're a professional plumber or tackling your first bathroom project, following these step-by-step instructions ensures proper flange positioning, secure anchoring, and reliable sealing.
Oatey provides the high-quality products, expert guidance, and technical support you need for successful toilet flange installation. From selecting the right flange type to choosing the proper wax ring, our comprehensive product line covers every aspect of toilet installation and repair.
Published on July 10, 2026
Frequently Asked Questions
-
How do I know if my toilet flange is the right height?
-
Your toilet flange should sit on top of the finished floor for optimal performance. If the flange is flush with the floor or slightly recessed below it, use a flange spacer kit or select a thicker wax ring to ensure proper compression and a leak-free seal. A flange positioned below the finished floor cannot compress the wax ring adequately, leading to leaks.
-
-
Can I screw a toilet flange directly to tile?
-
Yes, you can screw a toilet flange through tile, but the screws must penetrate through the tile and into the subfloor beneath (either wood or concrete). Tile alone does not provide sufficient holding strength to prevent flange movement. Use appropriate screws for your subfloor material, wood screws for wood subfloors or concrete anchors for concrete slabs.
-
-
What happens if the toilet flange isn't level?
-
An unlevel toilet flange prevents the toilet from sitting flat on the floor, causing the toilet to rock. This rocking motion creates stress on the toilet base, potentially causing cracks in the porcelain, and breaks the wax ring seal, leading to leaks. Always verify that the subfloor is level before installing the flange.
-
-
Do I need to glue the flange into the pipe?
-
Yes, for PVC and ABS installations, you must use the appropriate primer and solvent cement to create a permanent, watertight seal between the flange and drain pipe. This solvent welding process chemically fuses the materials together, preventing leaks and ensuring the flange remains securely attached to the drainage system. Never rely on friction fit alone for toilet flange installation.
-
-
What tools do I need for toilet flange installation?
-
Essential tools for toilet flange installation include: a hacksaw or PVC pipe cutter, measuring tape, permanent marker, screwdriver or drill, appropriate screws or anchors for your subfloor type, and a level. For concrete installations, you'll also need a hammer drill and masonry bit.
-
-
How long does toilet flange installation take?
-
A typical toilet flange installation takes 2-4 hours for intermediate DIYers, including preparation, dry fitting, cementing, and securing. Concrete installations may require additional time for drilling anchor holes.
-