

A toilet wax ring is a crucial gasket that forms a watertight and airtight seal between the toilet base and the floor flange, preventing leaks and sewer gases from escaping. Replacing a worn or damaged wax ring is essential to stop water pooling, unpleasant odors, and rocking toilets. This guide provides a clear, step-by-step process to replace the toilet wax ring safely and effectively.
To learn more about how wax rings work and why they're essential for every toilet installation, read: Oatey 101: Wax Rings.
Why Replace a Toilet Wax Ring?
Replacing a toilet wax ring fixes leaks and prevents sewer odors from entering your bathroom. When a wax ring fails, it often shows signs such as water around the base of the toilet, a rocking or unsteady toilet, or bad smells. This repair protects your subfloor from water damage and maintains bathroom hygiene.
What to Consider Before Replacing a Toilet Wax Ring
Replacing a toilet wax ring is a manageable DIY plumbing repair, but a few key inspections beforehand can prevent costly mistakes. Here's what to check before you begin.
New or Thicker Flooring If you've recently installed thicker flooring, such as ceramic tile over vinyl, the toilet flange may now sit below the finished floor surface. Toilet flanges must sit flush with or slightly above the finished floor. Use a flange spacer to raise the flange to the correct height before reinstalling the toilet.
Toilet Flange Condition Does your toilet rock or wobble side to side? If one side of the toilet base lifts off the floor, even slightly, you likely have a cracked or broken toilet flange. Inspect the flange before purchasing supplies, and pick up a toilet flange repair kit as a precaution.
T-Bolts Whenever you replace a wax ring, also replace the T-bolts (toilet mounting bolts) that secure the toilet to the flange. Many toilet wax ring kits include new T-bolts, look for a complete kit to save an extra trip to the store.
Toilet Flapper While the water supply is disconnected and the tank is drained, it's an ideal time to test and replace the flapper. To test it before shutting off the water: add food coloring to the tank and wait 10 minutes. Colored water seeping into the bowl confirms a leaky flapper, a simple fix that can save hundreds of gallons of water.
Subfloor and Water Damage If you're replacing the wax ring due to a leak at the toilet base or water stains on the ceiling below, identify the root cause before buying materials. A compromised subfloor can weaken the fasteners holding the toilet flange in place. Assess whether any water-damaged subfloor needs to be cut out and replaced before reinstalling the toilet.
What You'll Need For This Project
Before you begin, gather these tools and supplies:
Tools
- Adjustable wrenches
- Bucket/sponge
- Mini hacksaw
- Razor knife
- Disposable gloves
- Plastic putty knife
Materials
- Replacement wax ring
- Replacement toilet mounting bolts
- Replacement water supply line
- Floor covering
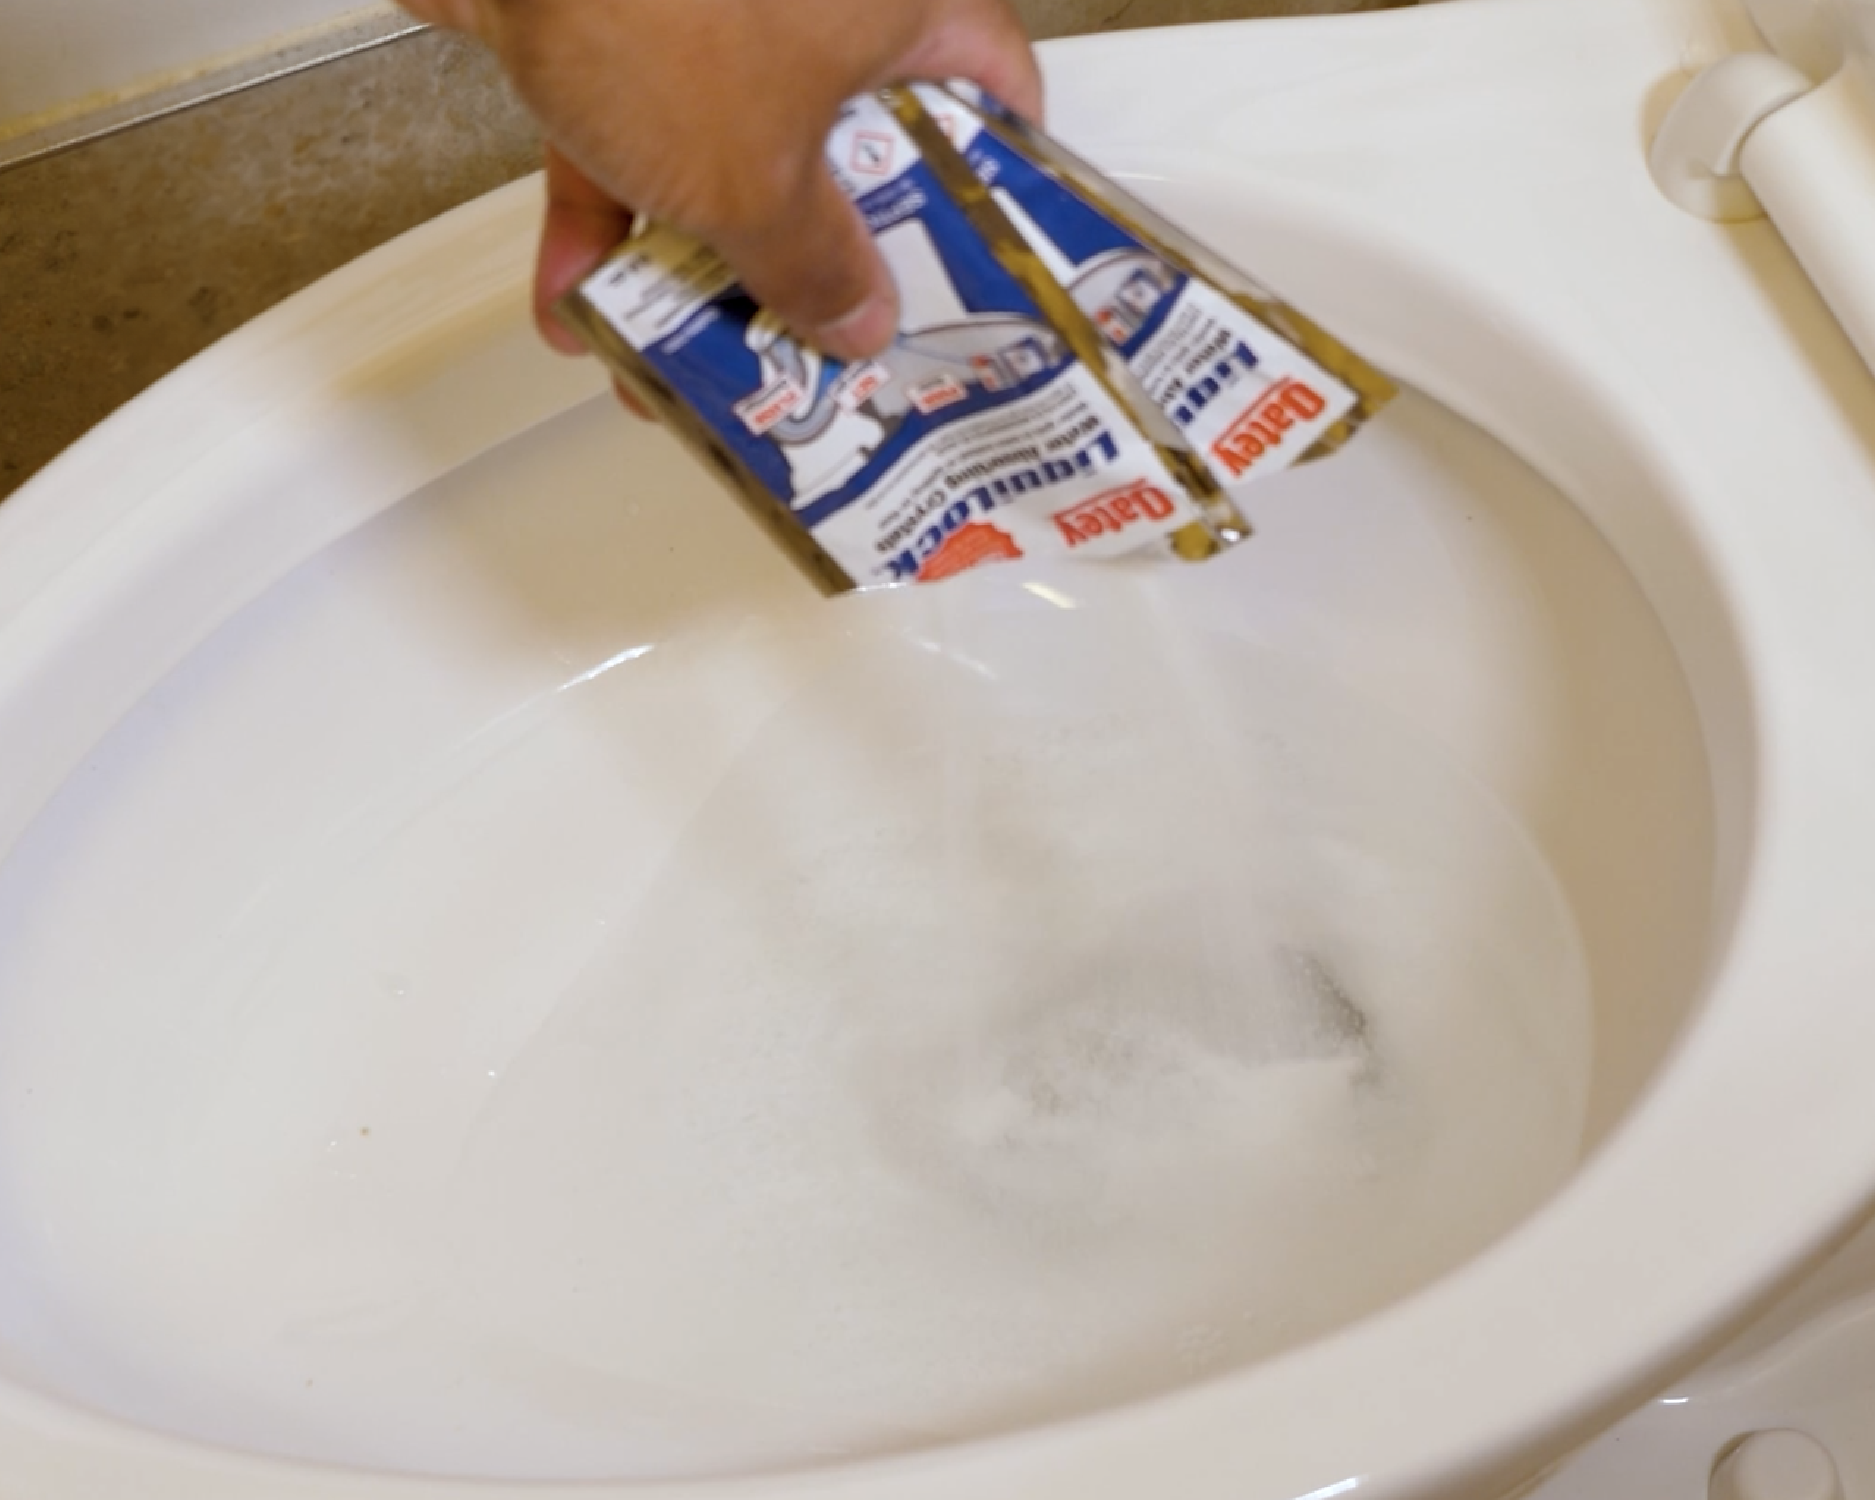
- Oatey® Liquilock™ Water Absorbing Crystals
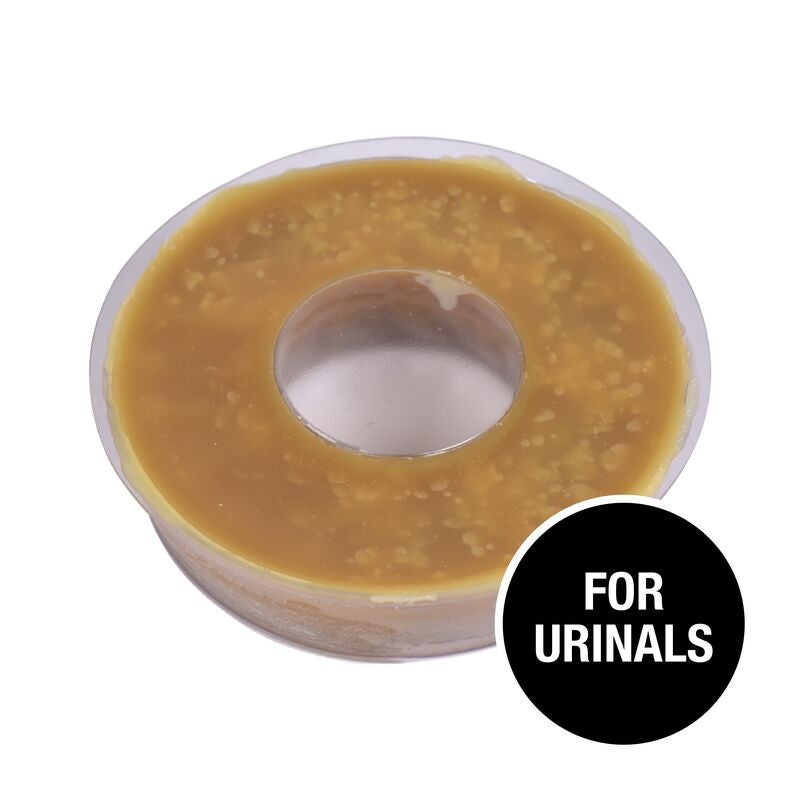
Oatey Tip: If your flange sits below the finished floor, choose an Oatey MaxWax® Wax Bowl Ring or a flange extenderfor the best fit.
Step 1. Turn Off the Water Supply and Drain the Toilet
Turn the shut-off valve behind or beside your toilet clockwise to stop water. Flush the toilet to drain the tank and bowl. Use a sponge or Oatey LiquiLock crystals to remove any remaining water. Place a bucket or towel under the valve to catch drips.
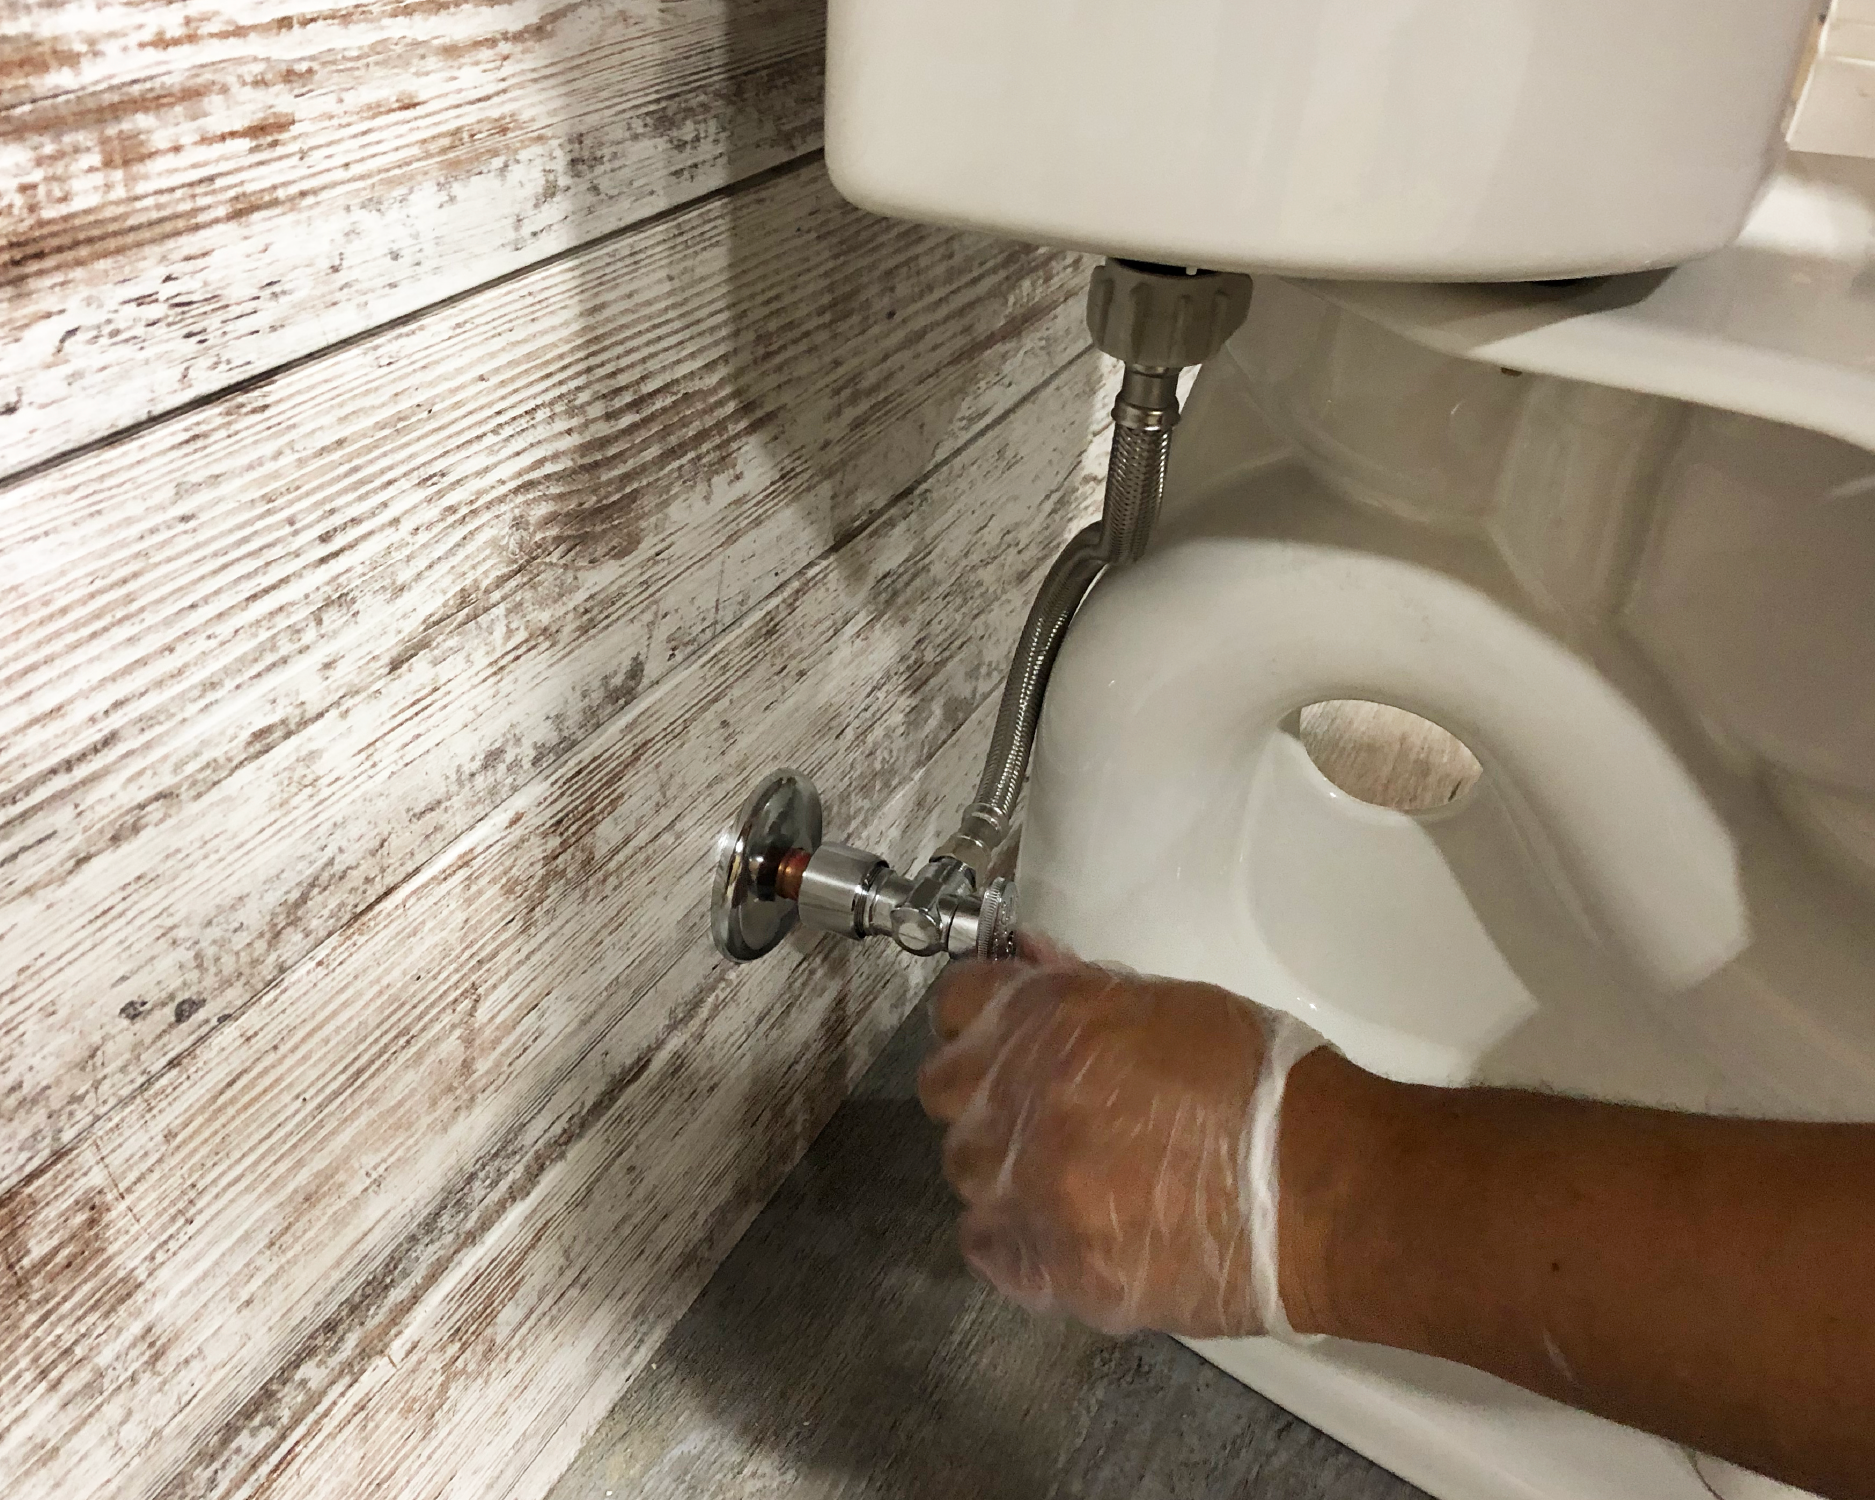
Oatey Tip: Wear rubber gloves during this step to keep the process clean and hygienic.
Step 2. Disconnect the Water Supply and Remove the Toilet
Loosen the nut on the water supply line with a wrench and disconnect it. Remove decorative bolt caps at the toilet base, then unscrew the nuts on the closet bolts. Rock the toilet gently side-to-side to break the wax seal and lift it straight up. Place the toilet on protective padding to avoid scratches.
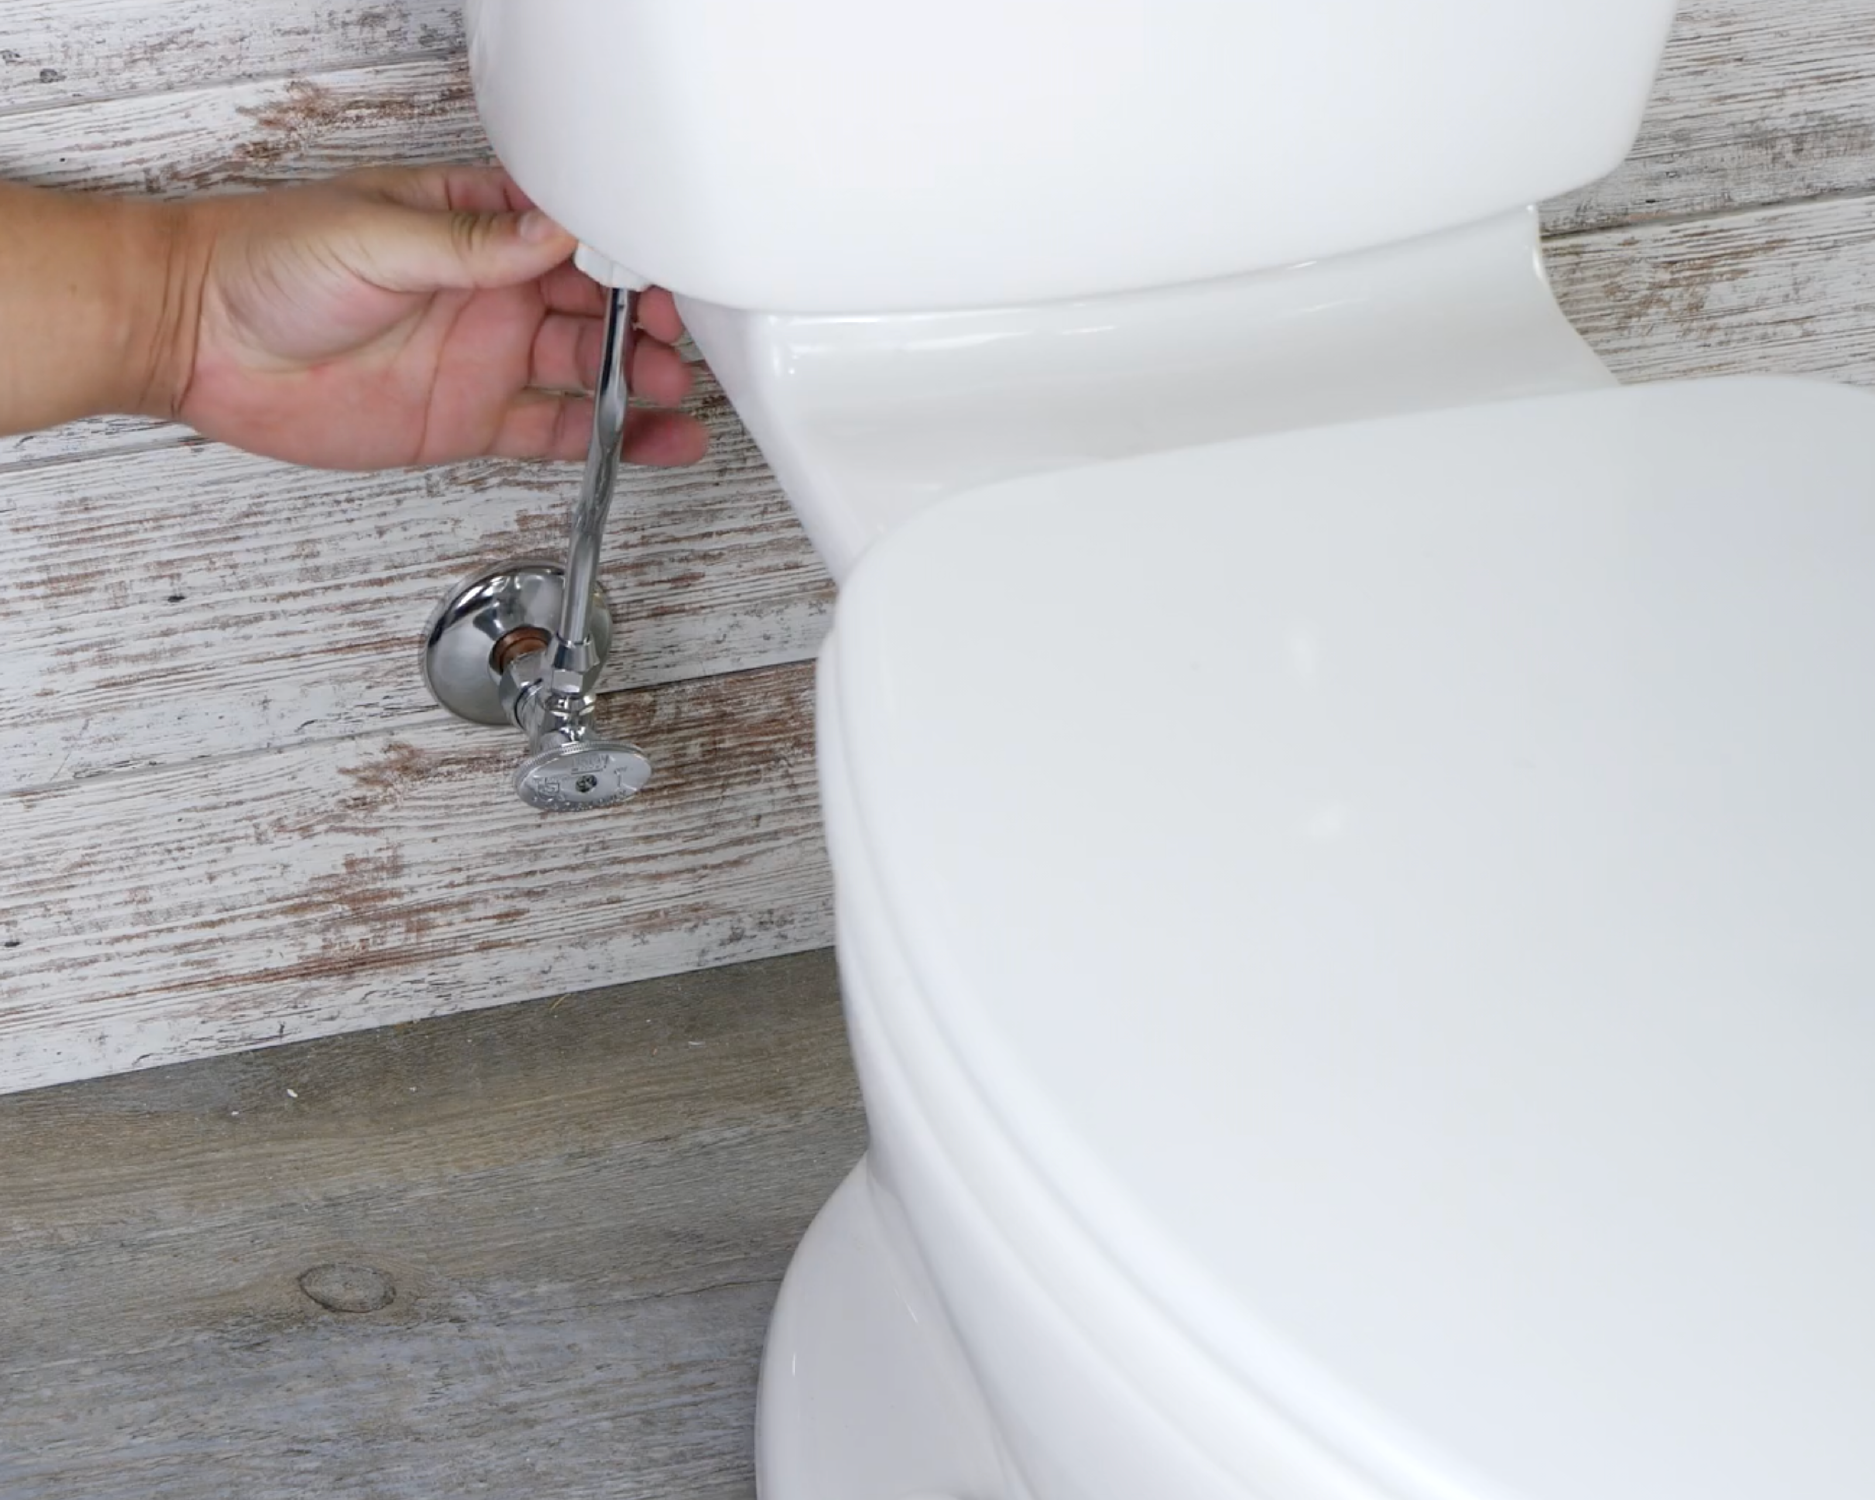
Oatey Tip: Toilets can be heavy. If possible, ask for help when lifting to prevent damage or injury.
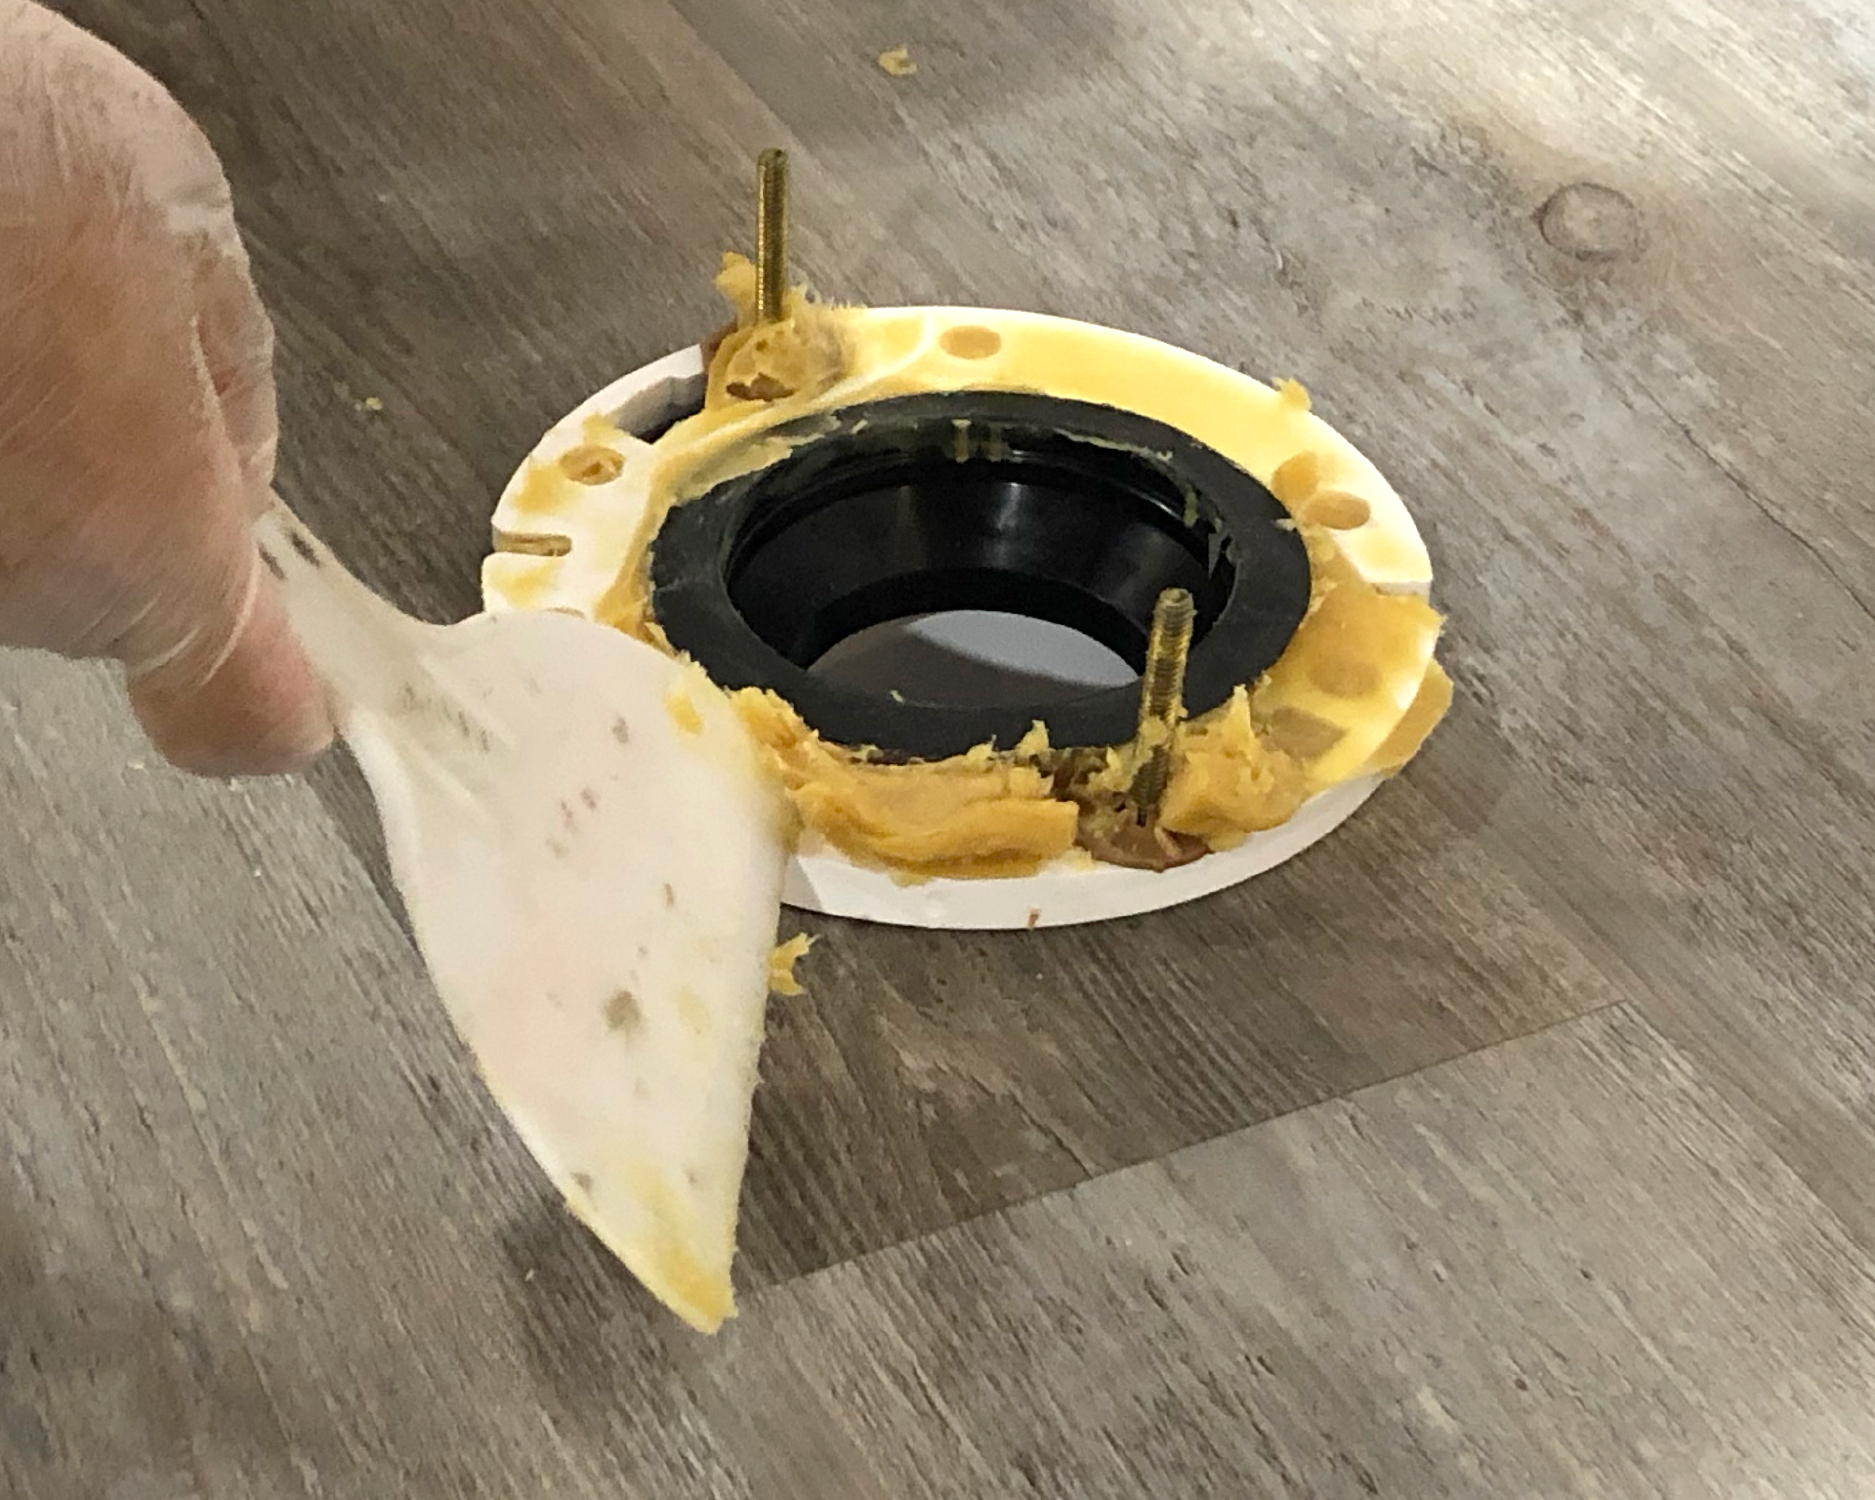
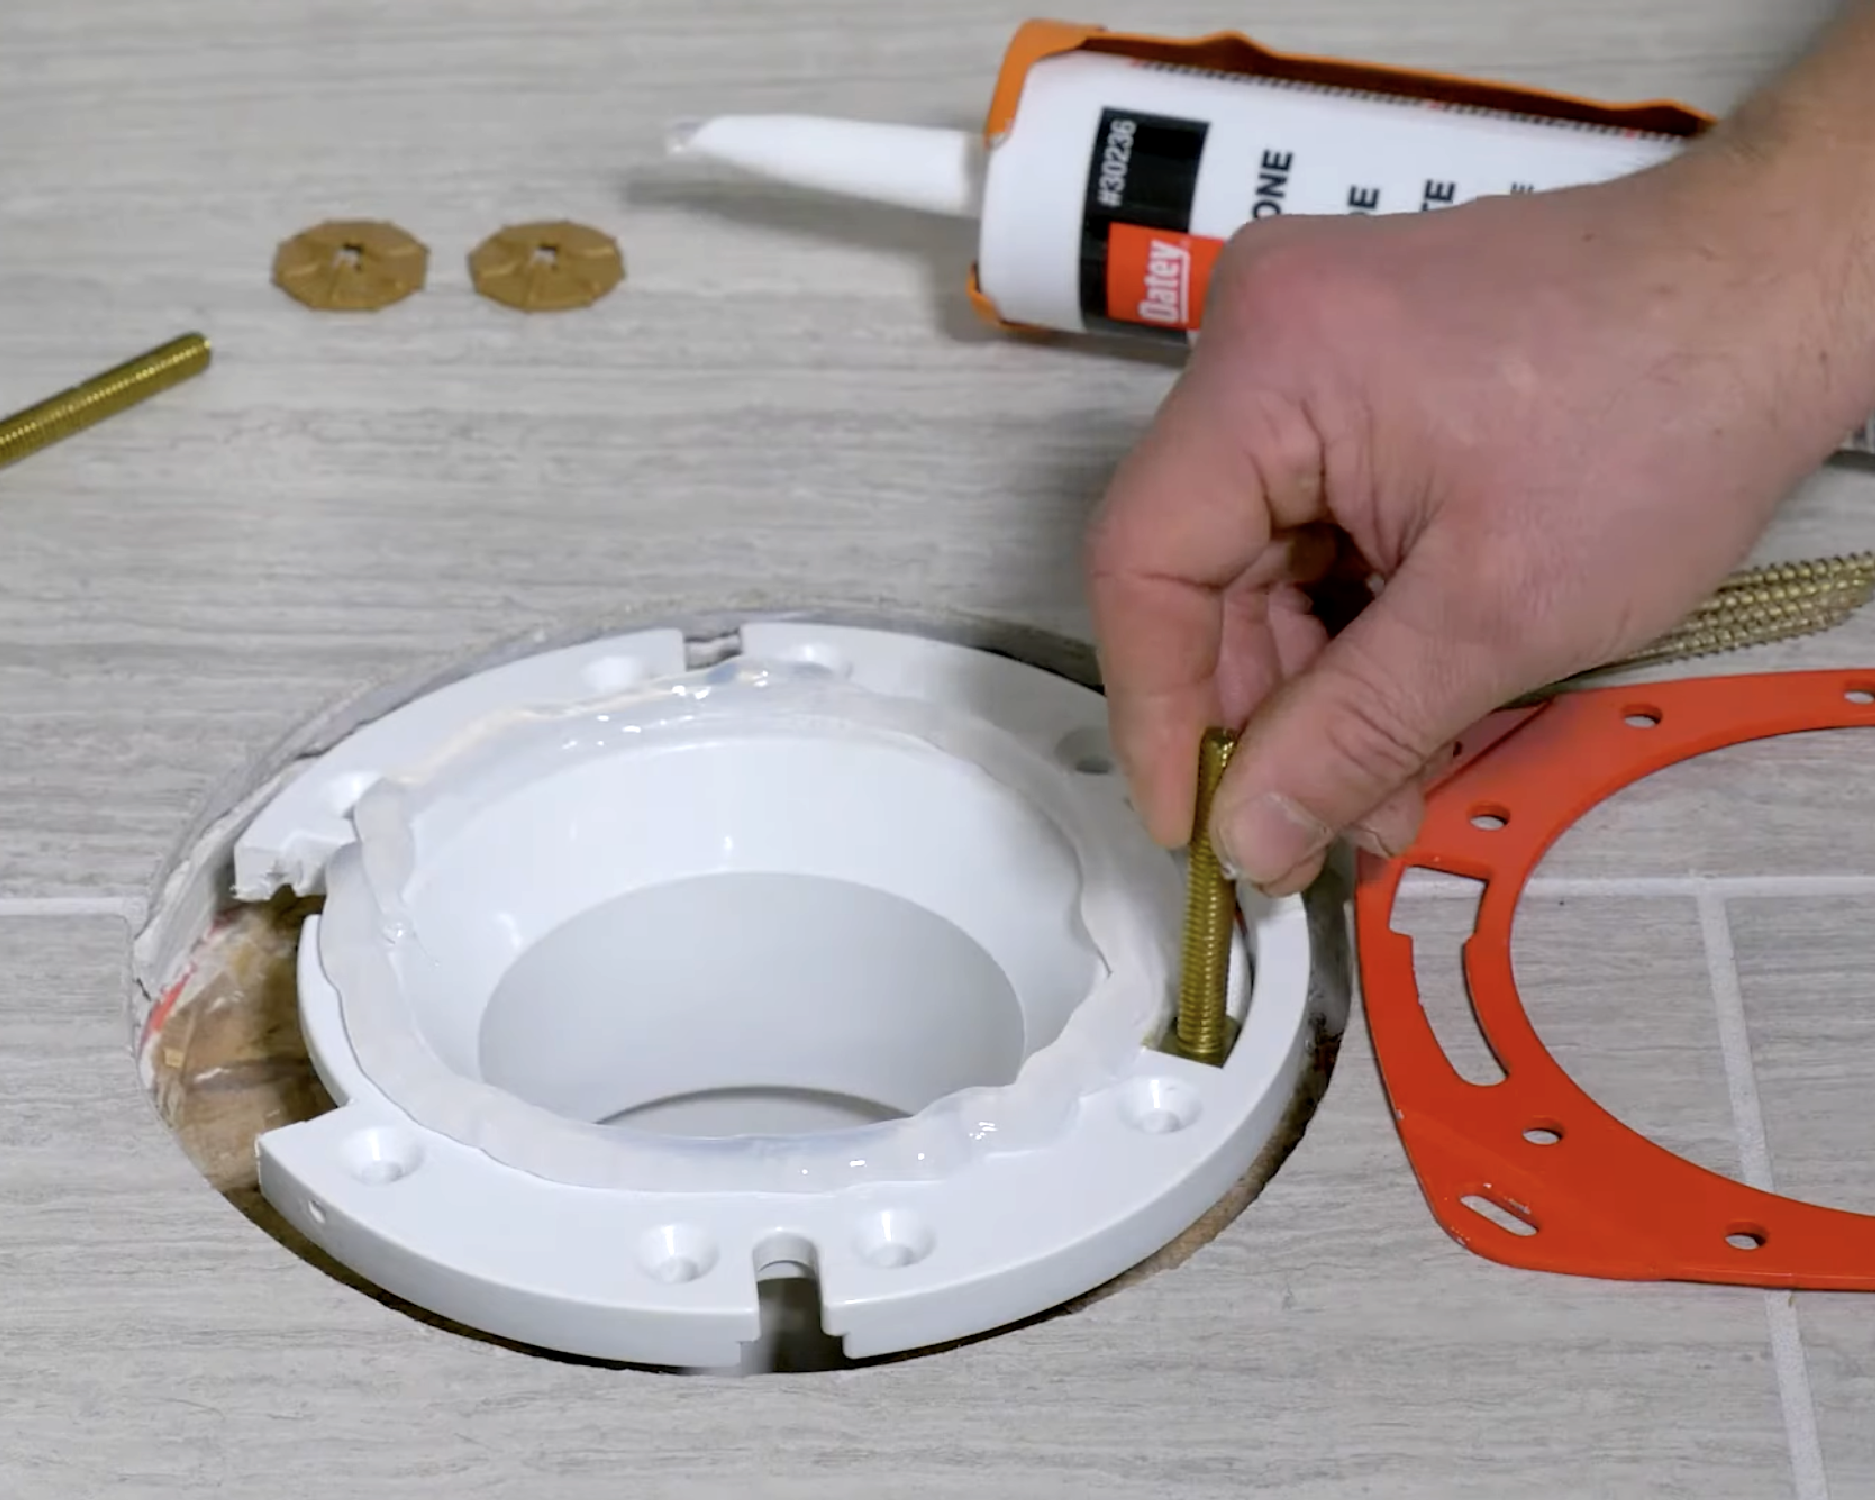
Step 3. Remove the Old Wax Ring and Inspect the Flange
Use a putty knife to scrape away all wax residue from the flange and the toilet outlet (horn). Inspect the flange for cracks, rust, or damage. It should sit level with the finished floor. If damaged, consult our How to Repair a Toilet Flange guidebefore proceeding.
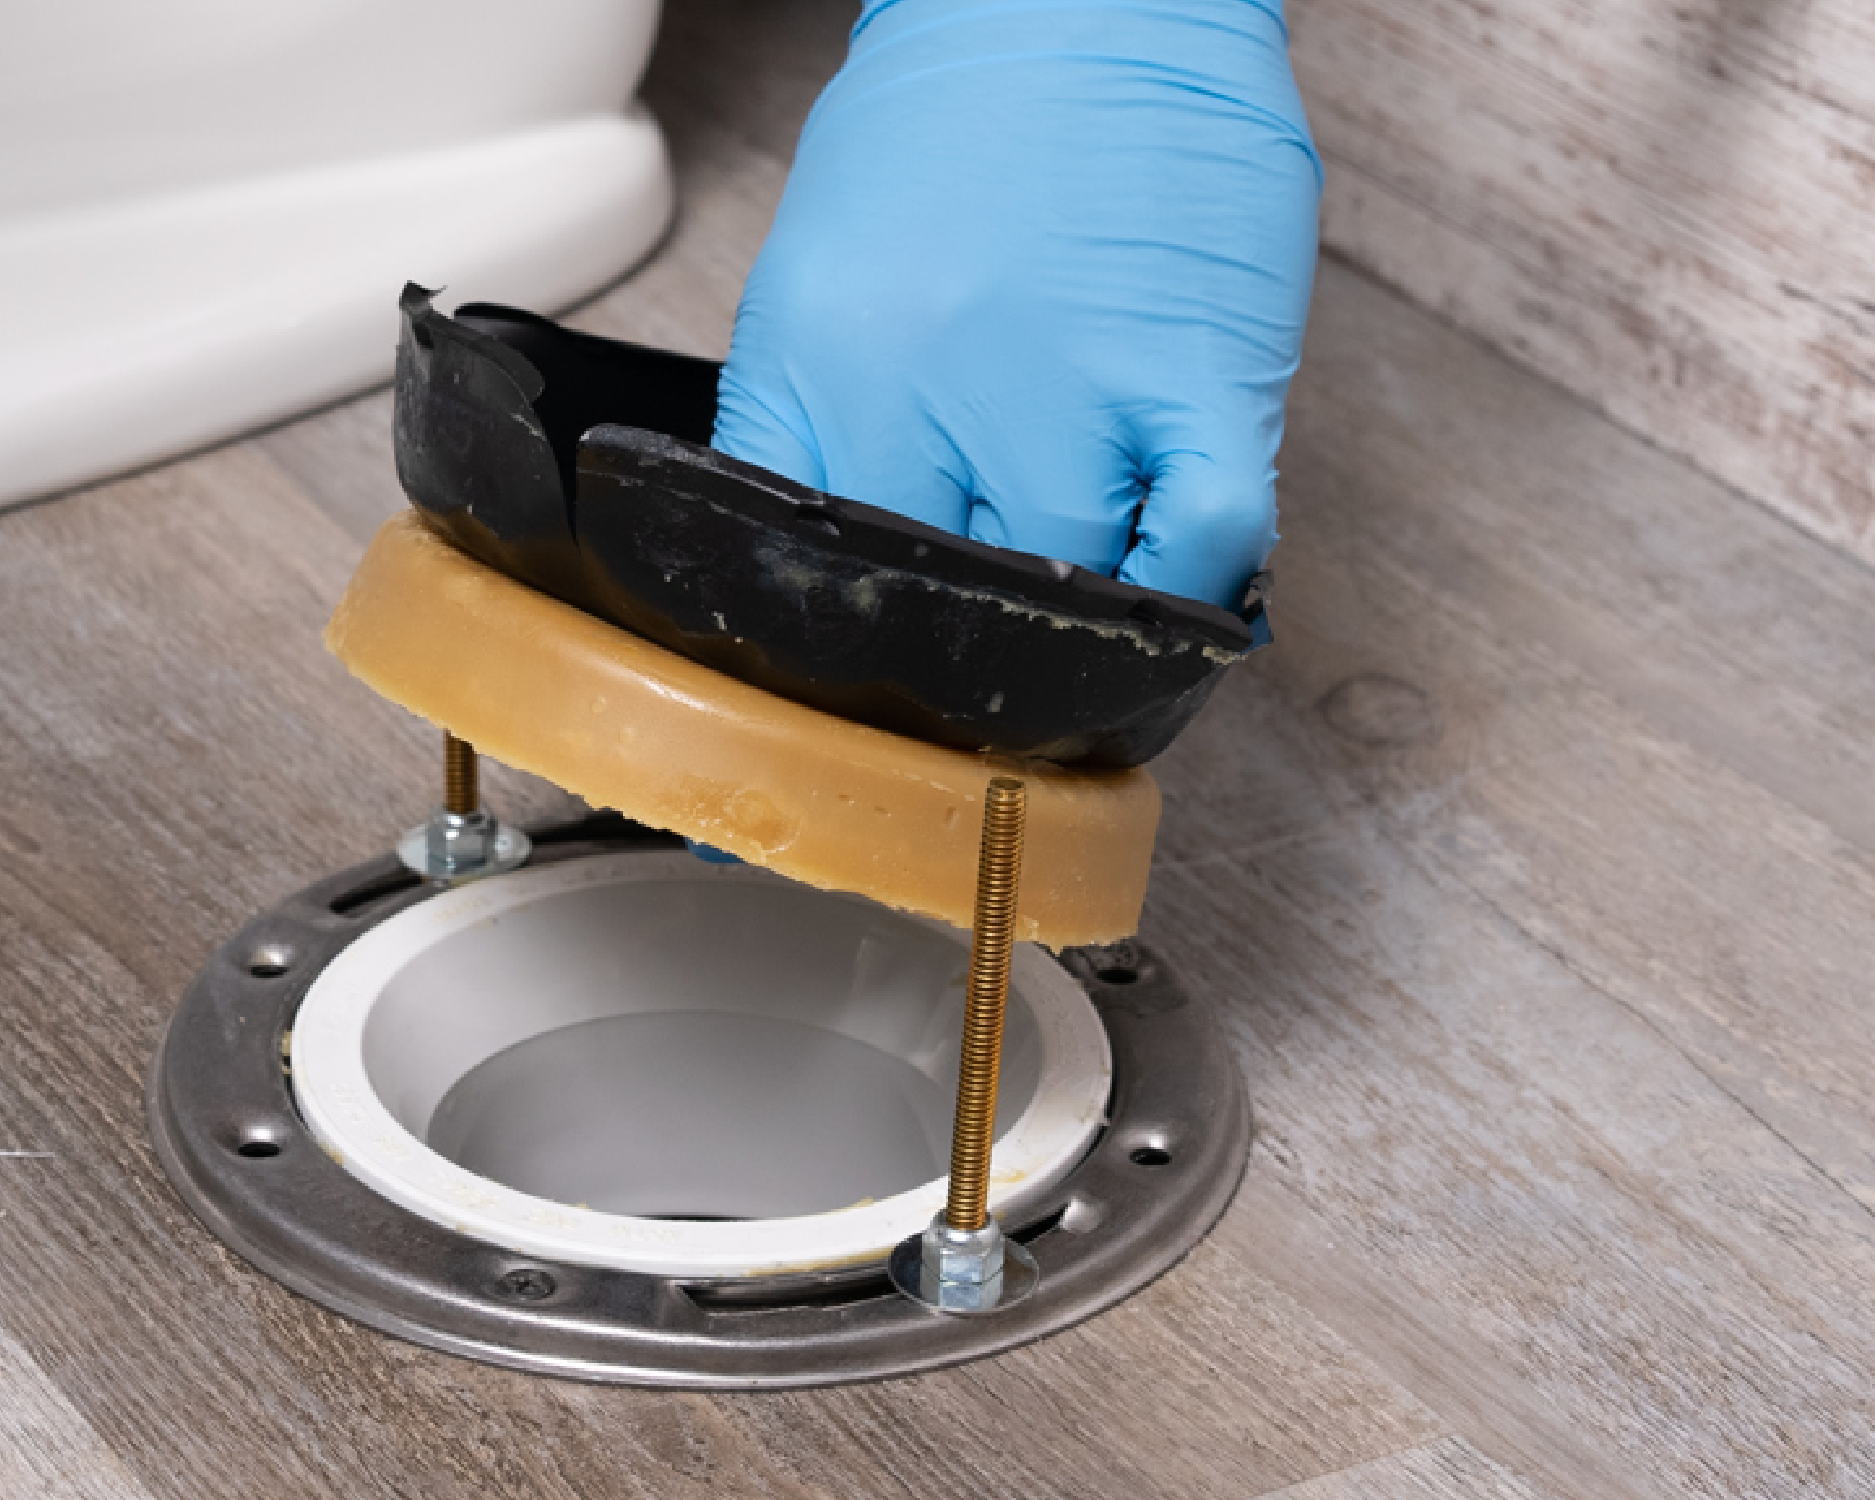
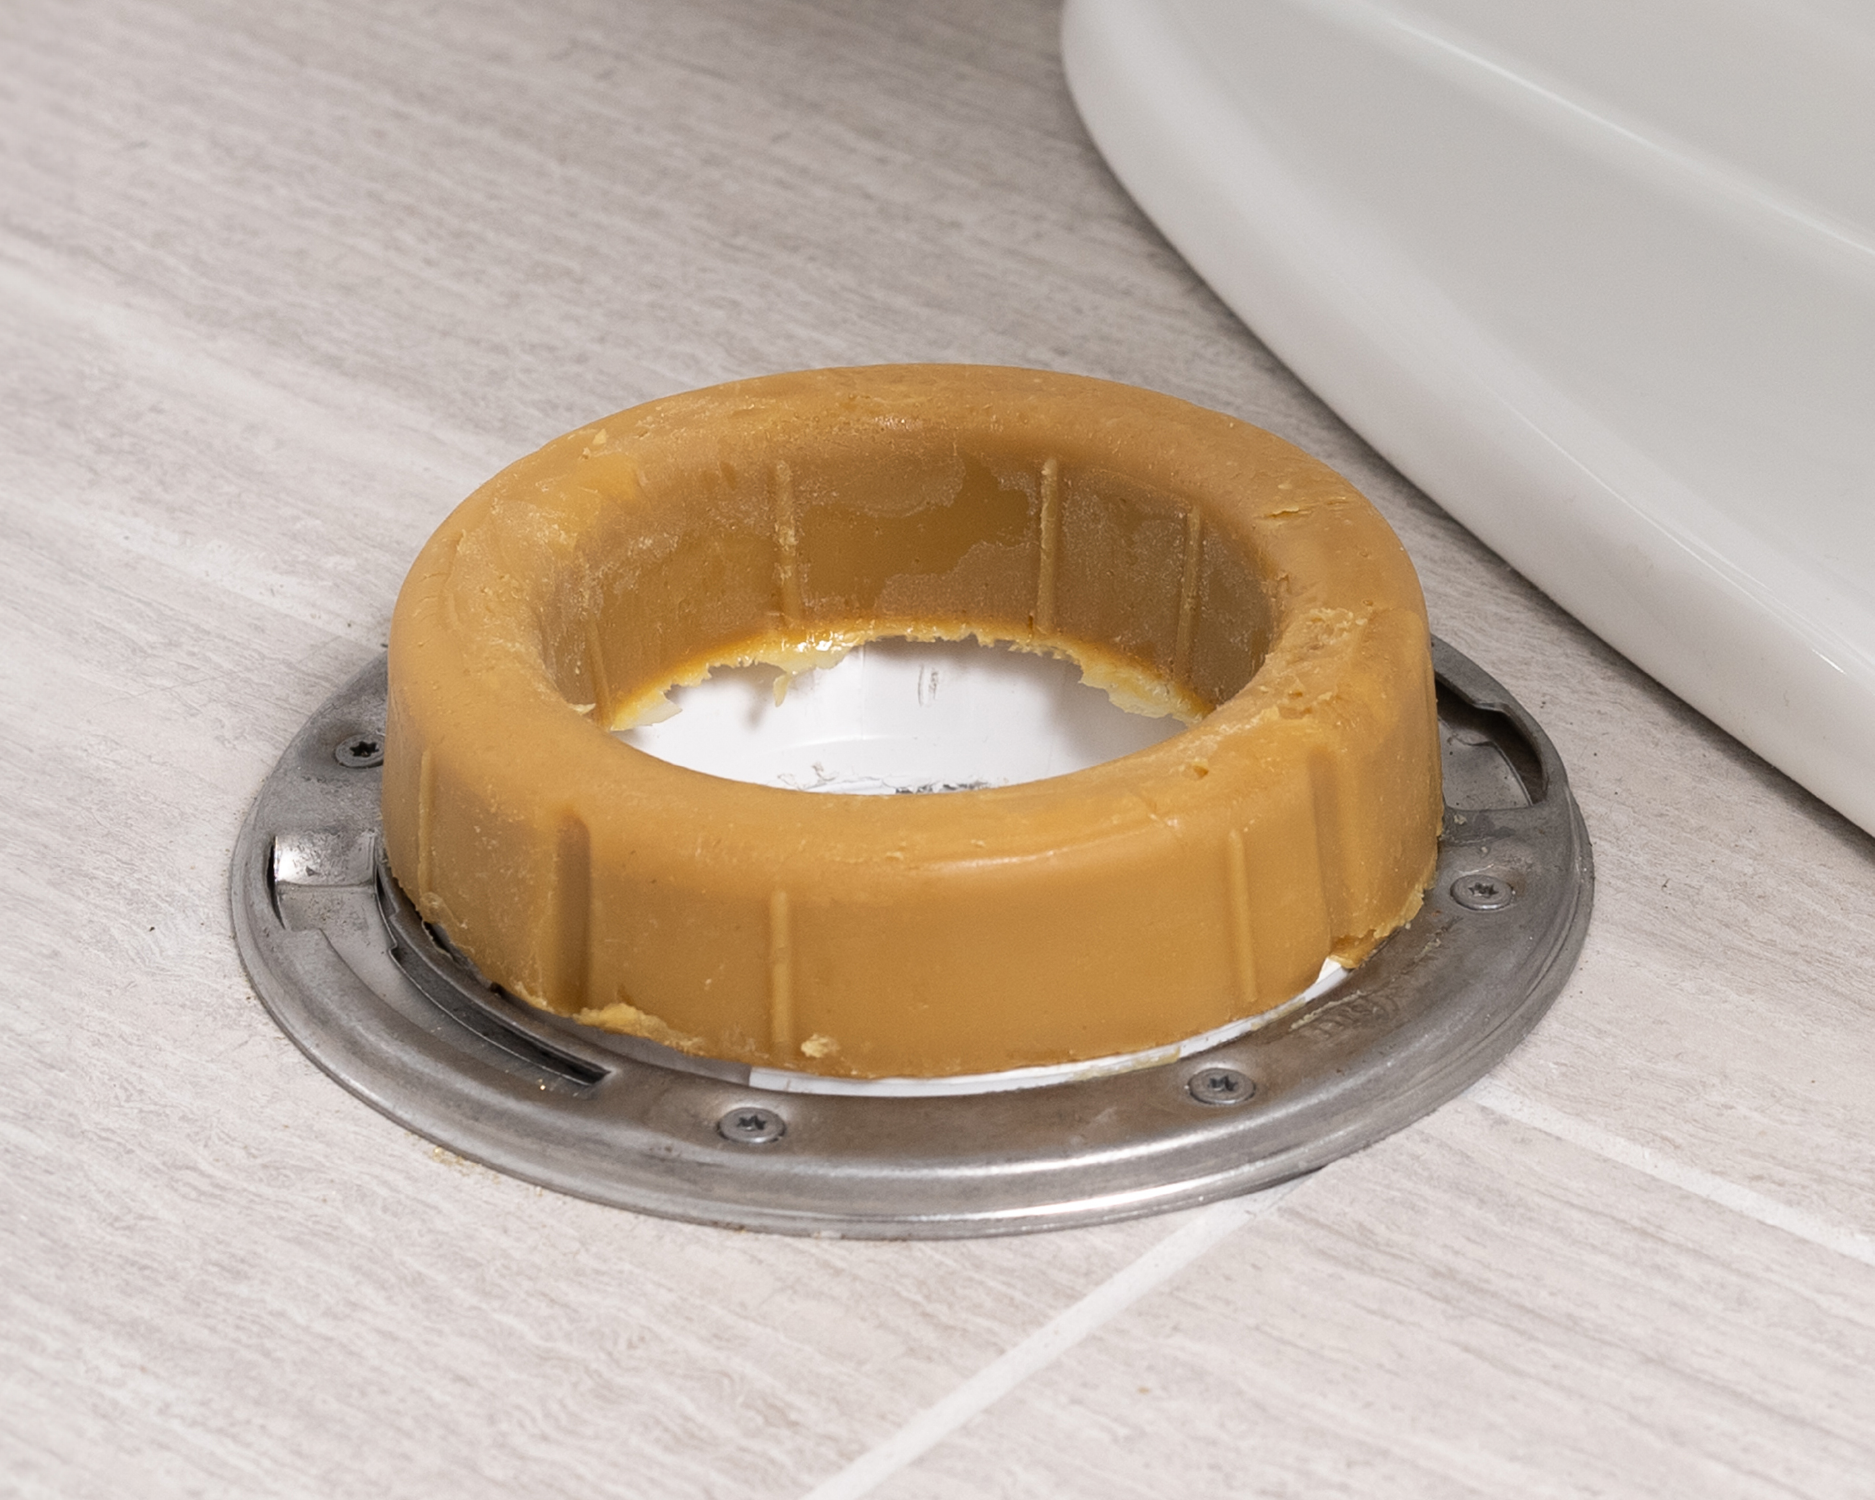
Step 4. Install the New Wax Ring
Center the new wax ring directly on the toilet flange. Do not stack rings. If your flange sits below the floor level, use an extra-thick wax ring or a flange extender (Oatey MaxWax or SetRite Flange Extender) for the best seal.
Oatey Tip: Never stack wax rings. If your flange sits below the floor, use an extra-thick wax ring or a flange extender instead. Learn more in our blog on Why You Should Never Stack Wax Rings.
Step 5. Reset the Toilet and Install Closet Bolts
Insert new or cleaned Johni-Bolts into the flange. Lower the toilet straight down onto the bolts, aligning bolt holes with bolts. Press down to compress the wax ring evenly. Tighten nuts gradually, alternating sides to avoid cracking porcelain. Reattach the water supply line, tightening hand-tight plus a quarter turn with a wrench.
Step 6. Turn the Water Back On and Test for Leaks
Open the shut-off valve counterclockwise to fill the tank. Flush multiple times to check for leaks at the base. If no leaks appear, apply caulk around the toilet base for a finished look. If leaks persist, verify flange level, bolt tightness, and consider replacing the water supply line.
Oatey Tip: If the toilet still rocks slightly, consider using toilet shims or checking the flange height to prevent movement and future leaks.
Need more help? Check out this step-by-step video tutorial on replacing a toilet wax ring.
Troubleshooting Tips
- Never reuse a wax ring: Always replace it when removing a toilet.
- Avoid stacking rings: Use an extra-thick ring for low flanges.
- Wobbling toilet? The flange may be uneven; shim if necessary.
- Still leaking? Confirm the flange is level and the bolts are secure.
For a more in-depth look at flange installation and troubleshooting tips, see our blogs Five Best Practices for Installing a Toilet Flange and Should I Use an Offset Toilet Flange?
What Are the Most Reliable Toilet Seals That Prevent Leaks?
Traditional wax rings provide a permanent seal but can be messy and single-use. Wax-free toilet seals such as rubber or flexible foam offer easier, cleaner installations and are reusable but may not perform as well on uneven or damaged flanges. For most household toilets, premium wax rings or extra-thick wax rings combined with a properly positioned flange provide the most reliable leak prevention.
Published on June 18, 2026


Frequently Asked Questions
-
What does a toilet wax ring do?
-
A wax ring creates a sealed barrier between the toilet base and the floor flange, preventing water leaks and stopping sewer gases from entering your bathroom.
-
-
How does a toilet wax ring work?
-
When the toilet is set onto the flange, the wax ring compresses to fill any gaps between the toilet bowl and the flange. This compression forms a secure seal that typically lasts for years unless disturbed.
-
-
How long does a toilet wax ring last?
-
A properly installed wax ring can last many years, often the lifetime of the toilet, but it may fail sooner due to toilet movement or flange damage.
-
-
When should I use a flange spacer?
-
Use a flange spacer or extender when the flange sits below the finished floor, commonly after new flooring installation, to ensure the wax ring seals properly.
-