

Do you have a leak under your kitchen or bathroom sink that needs patched immediately? Temporarily fix leaks, holes or cracks in a variety of pipe types with Oatey Fix-It™ Stick Epoxy Putty. For versatile use, the two-part epoxy putty stick can repair leaks, holes or cracks in materials such as plastic, metals, fiberglass, concrete or ceramics. The powerful adhesive putty easily mixes in your hands and hardens like steel in minutes after application, perfect for fixing broken tile and molding. The putty is non-toxic and can be used on wet or dry surfaces to tackle any unexpected repair jobs around your home.
What You'll Need For This Project
- Oatey Fix-It™ Stick Epoxy Putty
- Sanding paper
- Gloves
- Cloth
Step 1. Step 1: Identify Material
Make sure you are using epoxy putty on the proper material type. The Oatey Fix-It Stick Epoxy Putty can be used on the following materials:
- PVC
- CPVC
- Wood
- Metals
- ABS
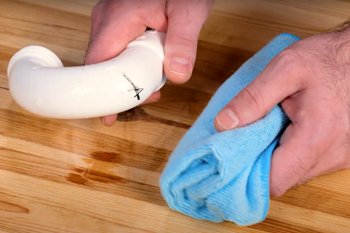
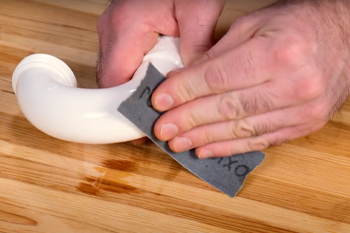
Step 2. Step 2: Prep the Area
Using a cloth and a piece of sandpaper, wipe away any excess material or dirt, making sure the area is flat and smooth. Ensure all dirt and oil have been removed or at least minimized to get the best results.
  |
Note: For (slow) leaking pipes, ensure that the water has been shut off and drained prior to getting started.
Step 3. Step 3: Mold Putty
Before you handle the Fix-It Stick, put on a pair of gloves.
Break off a piece of the Fix-It Stick and begin mixing the putty in a pinching motion. Roll and knead the putty into a ball for about 1 minute, until it is one consistent gray color.
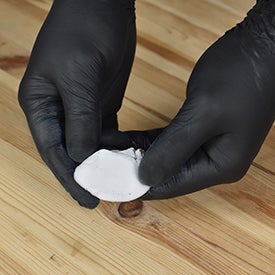
Note: Work quickly while molding the putty (under 2-3 minutes). If the putty is exposed to air for an extended period of time, it will harden and become brittle.
Step 4. Step 4: Apply Product
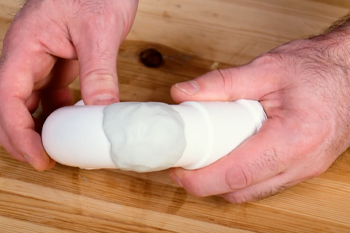
Take the mixed putty and mold it into a shape that will cover the entire problem area and the surface area surrounding it.
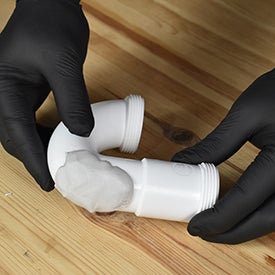
Apply putty to the problem area using your hands or a putty knife. Firmly press the product onto the pipe and remove any excess putty. Make sure all holes and cracks are filled.
Step 5. Step 5: Allow Putty to Cure
Allow the putty to cure or harden. The Fix-It Stick begins to set in as little as 20 minutes after application. After 24 hours you will have the strongest, most reliable hold.
After curing, the putty may be drilled, tapped, filed, sanded, sealed and painted to create a seamless look.
Note: Remember this acts as only a temporary repair until you can get a plumber to complete the repairs.
You can use the Oatey Fix-It Stick for many types of repairs. Here are a few examples:
- Cabinetry
- Securing cracked or loose tile
- Arts and crafts
- Filling holes in molding around windows and doors
For more information on epoxy putty, check out our blog, How to use Epoxy Putty.
Published on October 13, 2023