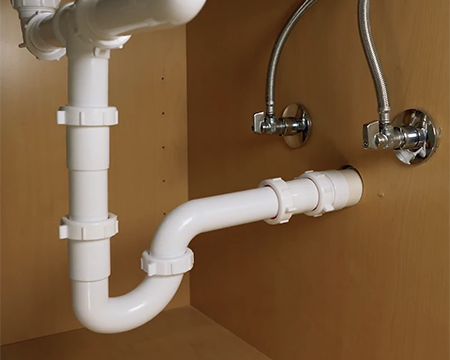
The P-trap is a vital plumbing component that will help prevent sewer gases from entering your home and ensure proper drainage from your sink. Whether replacing an old P-trap or installing a new one for the first time, this comprehensive tutorial will walk you through the process with clear instructions and helpful tips.
What You'll Need For This Project
- P-trap kit
- Adjustable wrench
- Pipe cutter (or a hacksaw)
- Small bucket or shallow dish
Step 1. Turn off the water supply!
Locate the shut-off valve under your sink and turn it clockwise to shut off the water supply. This step is crucial to do before beginning work to avoid accidental leaks.
Step 2. Remove the existing P-trap (if applicable).
If an old P-trap is in place, use your adjustable wrench to loosen and remove the nuts securing it. Start by loosening the nuts connecting the old P-trap to the waist connector, and then the nuts connecting it to the sink’s tailpiece. Once loosened, carefully detach the P-trap and set it aside.
Tip: Place a bucket or bowl underneath the P-trap while you remove it to avoid spills from residual water in the P-trap.
Step 3. Measure and cut your pieces.
Temporarily put the J-bend on the sink’s tailpiece so you can measure the wall tube to the length required to connect the J-bend to the waist connector. If the wall tube is too long, mark where you need to cut it with a marker. Use a pipe cutter or hacksaw to trim it to the correct length.
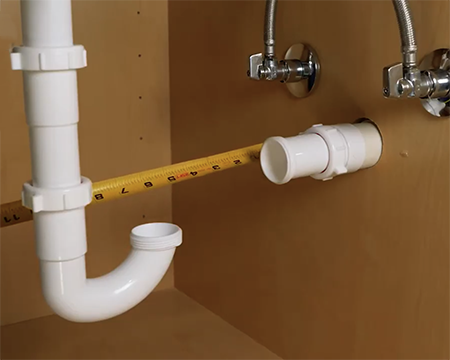
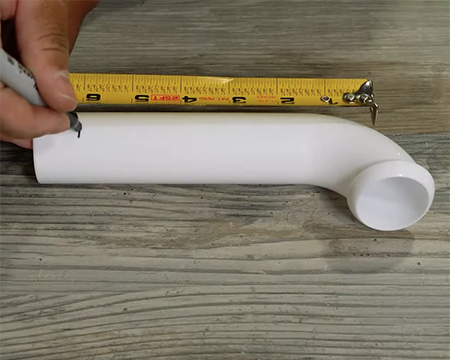
Tip: Remember to measure TWICE and cut once to avoid mistakes!
Step 4. Assemble the wall tube.
Slide a nut and slip joint washer from your P-trap kit onto the wall tube.
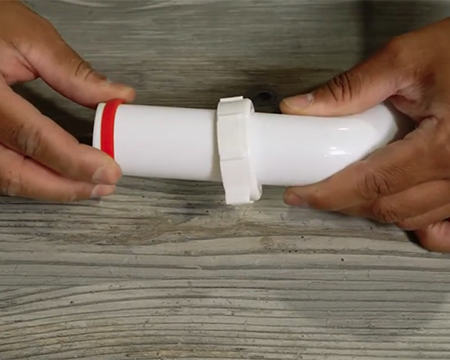
Step 5. Insert the wall tube to the waste connector.
Insert the wall tube into the waste connector, securing the seal with the slip joint washer. Then, tighten the nut to connect the pieces securely.
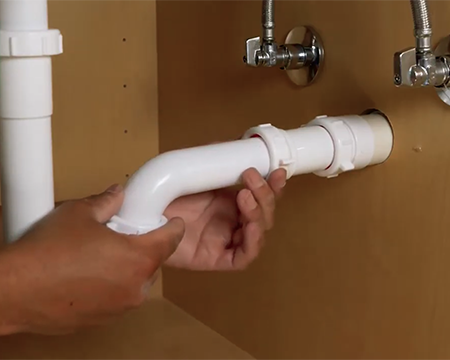
Step 6. Assemble the tailpiece and J-bend.
Position a nut and slip joint washer on the tailpiece. Then, slip the tailpiece into the j-bend, securing the seal with the slip joint washer. Tighten the nut to connect the pieces securely. Make sure you also tighten the nut connecting the J-bend to the wall tube.
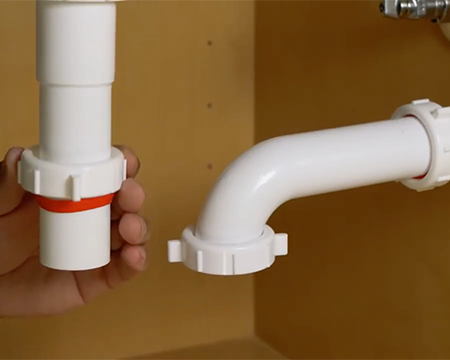
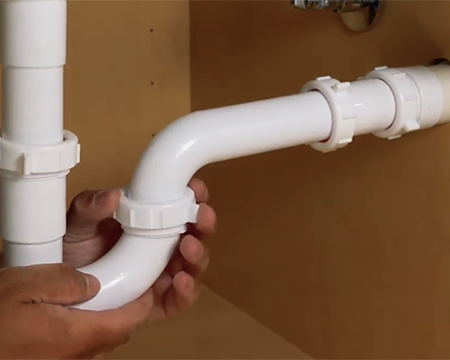
Step 7. Secure all the nuts.
Make sure you check and tighten all the nuts to avoid any leaks.
Note: Do not overtighten the nuts, which can damage the fittings. Tighten them snugly without excessive force.
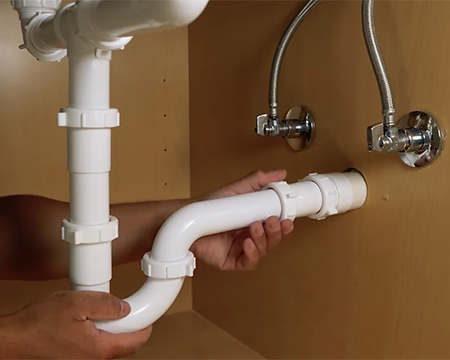
Step 8. Test for leaks.
Once your P-trap is securely installed, turn the water supply back on and let the water run for a few moments. Check around the connections for any signs of leaks. If you notice a leak, tighten the nuts a bit more until the leak stops.
If there are no leaks, you have successfully installed your P-trap!
